Getting Started · Yogi's VPS
Launching your first WordPress site
New to Yogi's VPS or WordPress in general? This guide walks you through the full process of launching your first WordPress site, from setup to going live on your domain.
This same process is used whether you're building a blog, business website, or online store. The key is starting clean and setting things up the right way from day one.
A properly launched site performs better long term, which is exactly why website performance plays a role in SEO growth.

Step 1: Confirm your hosting setup
Before you install WordPress, make sure your hosting environment is ready.
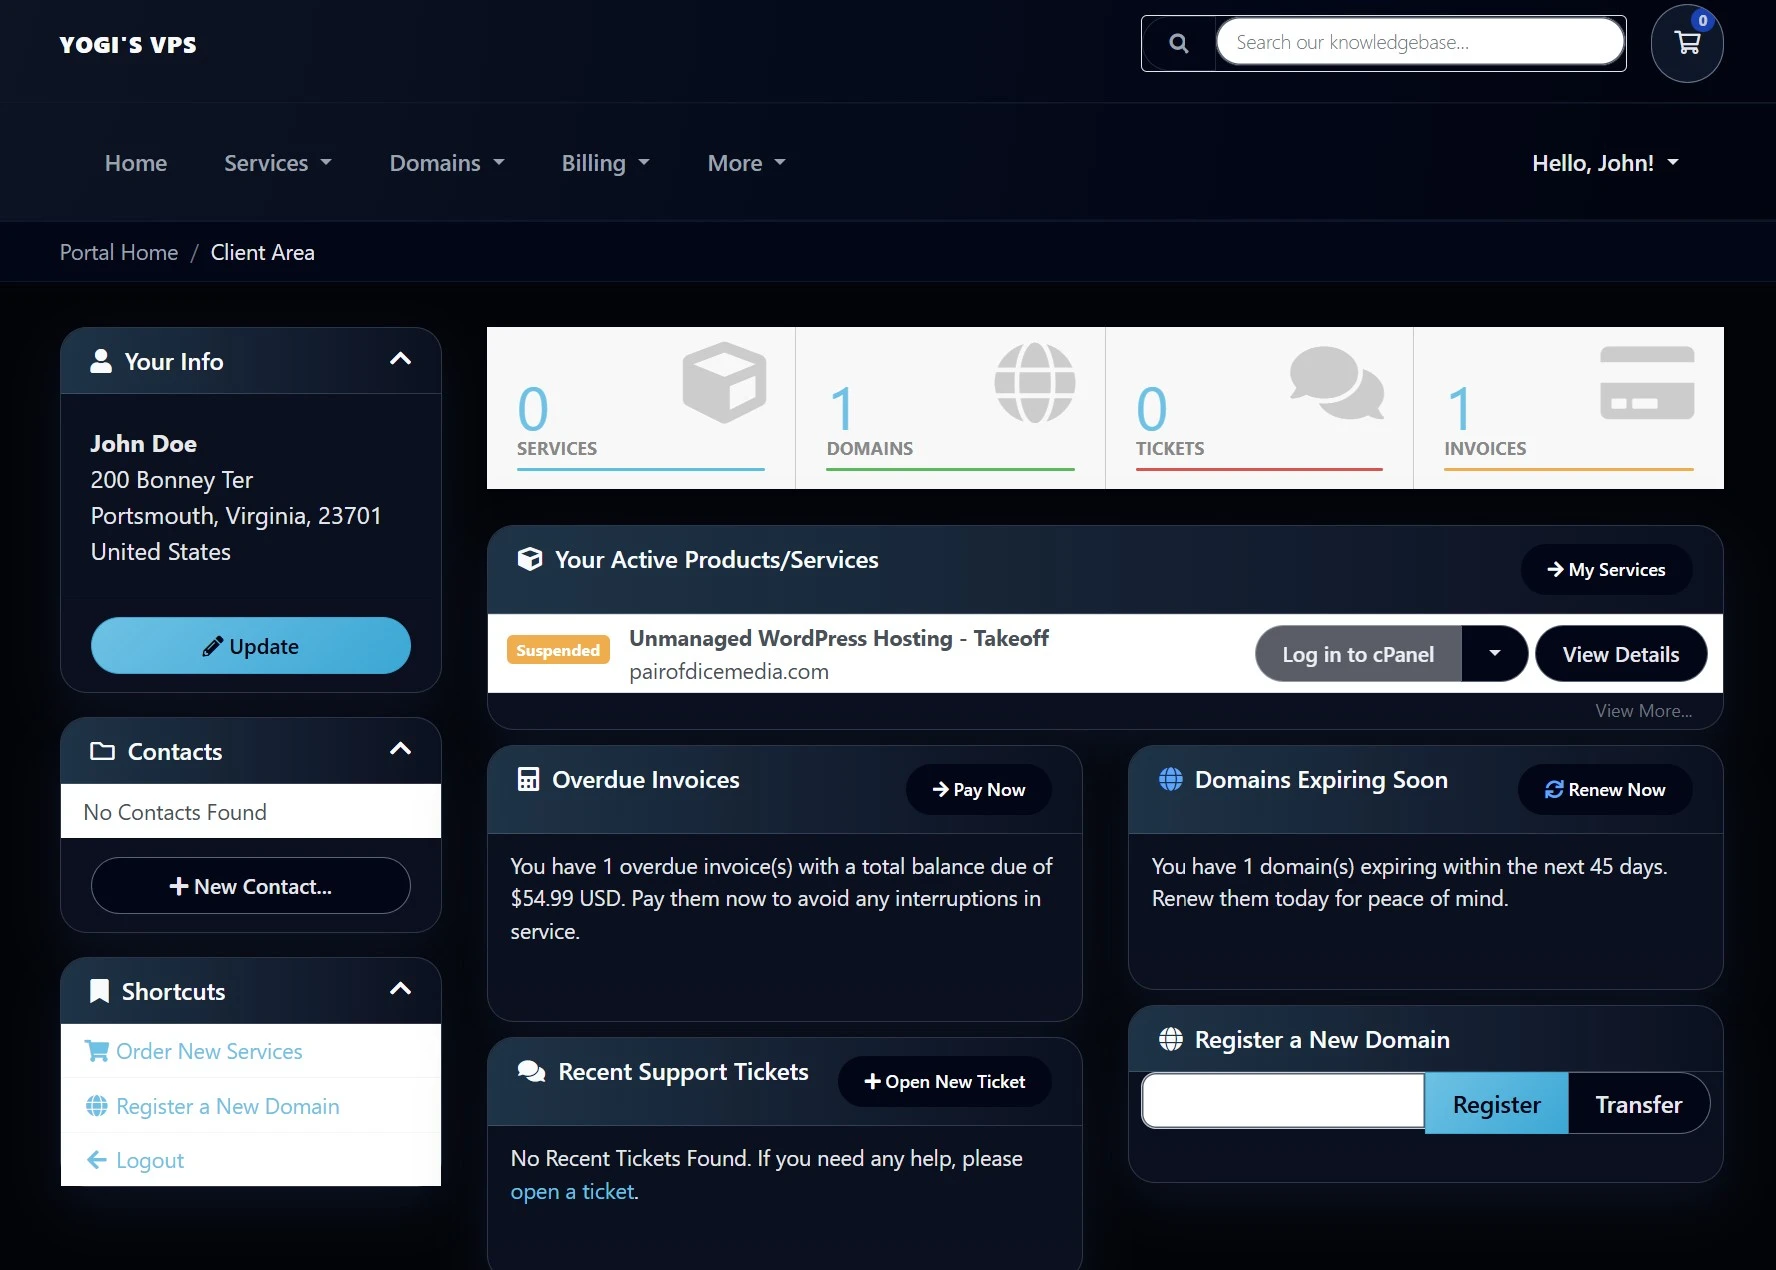
- You can access your Yogi’s VPS account.
- You know which domain or temporary URL you will use.
- You have login credentials saved securely.
If you are coming from another host, follow our migration guide or shared hosting to VPS migration process.
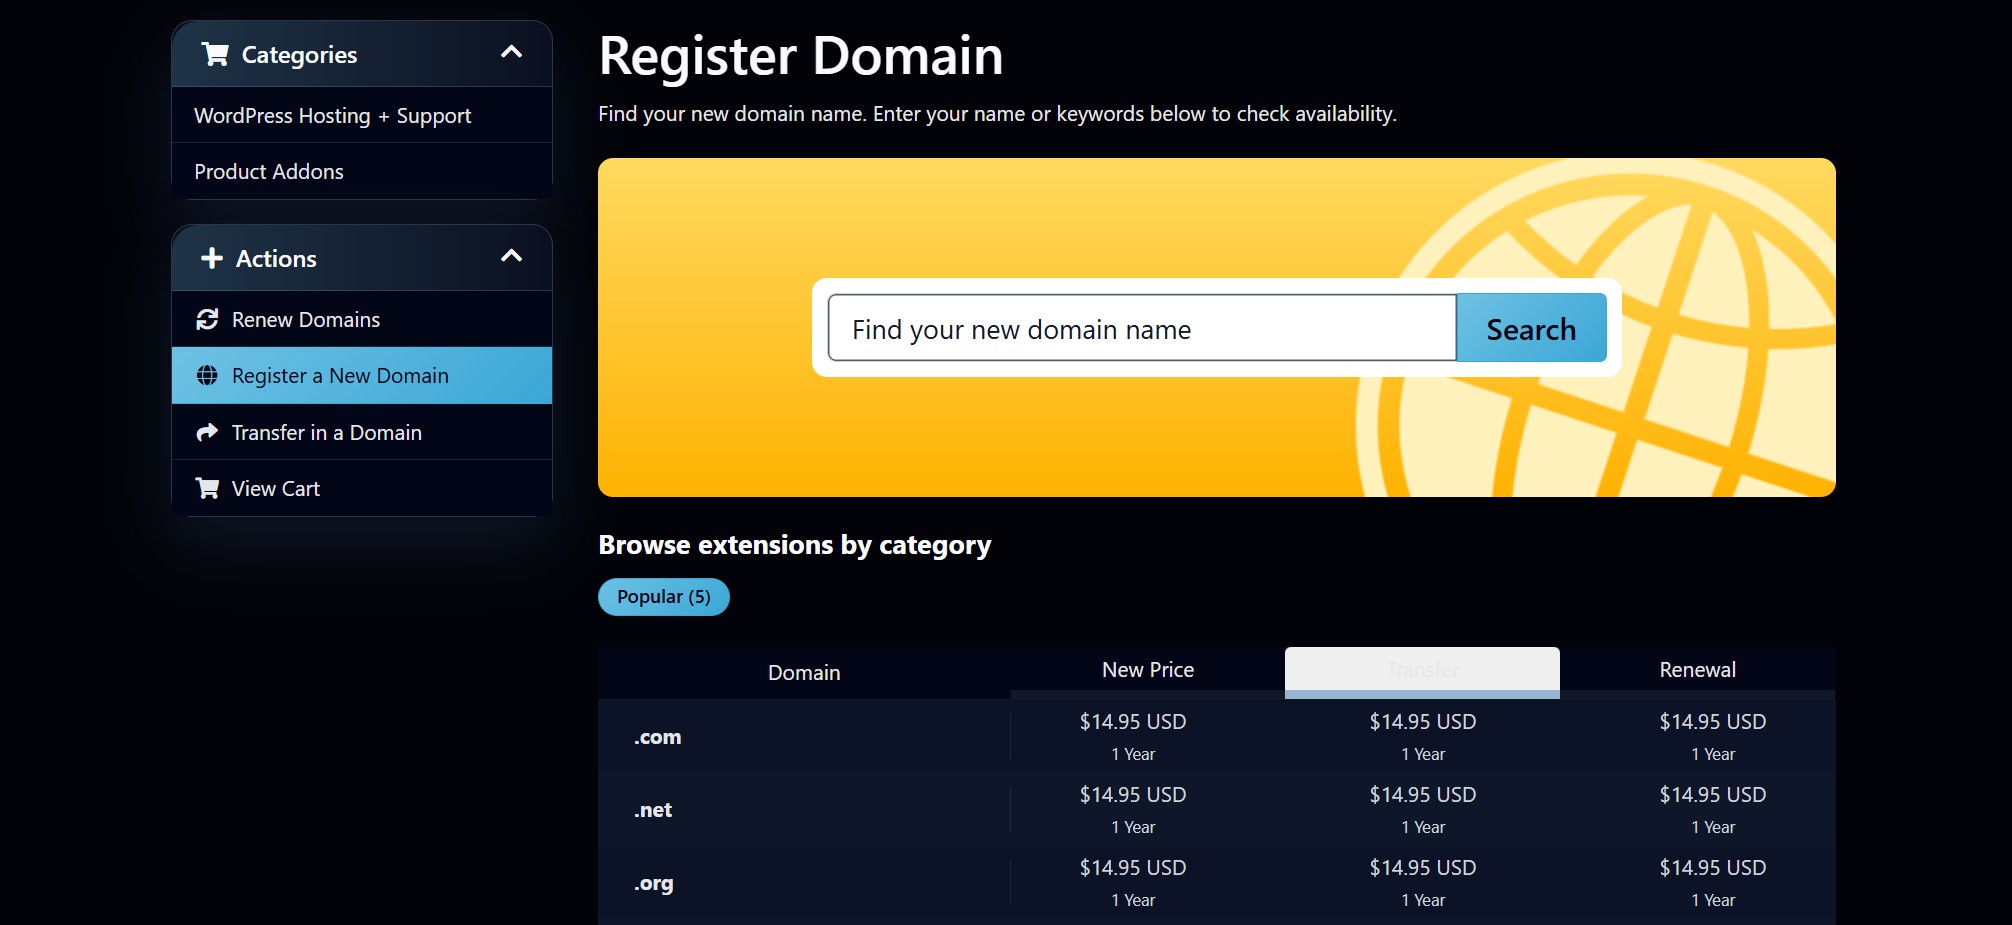
Step 2: Connect your domain
You can build your site using a temporary URL or connect your real domain.
- Choose your main domain
- Decide between www or non-www
- Point DNS to your VPS
If you need help, see: connecting your domain and updating DNS or pointing your domain to Yogi’s VPS.
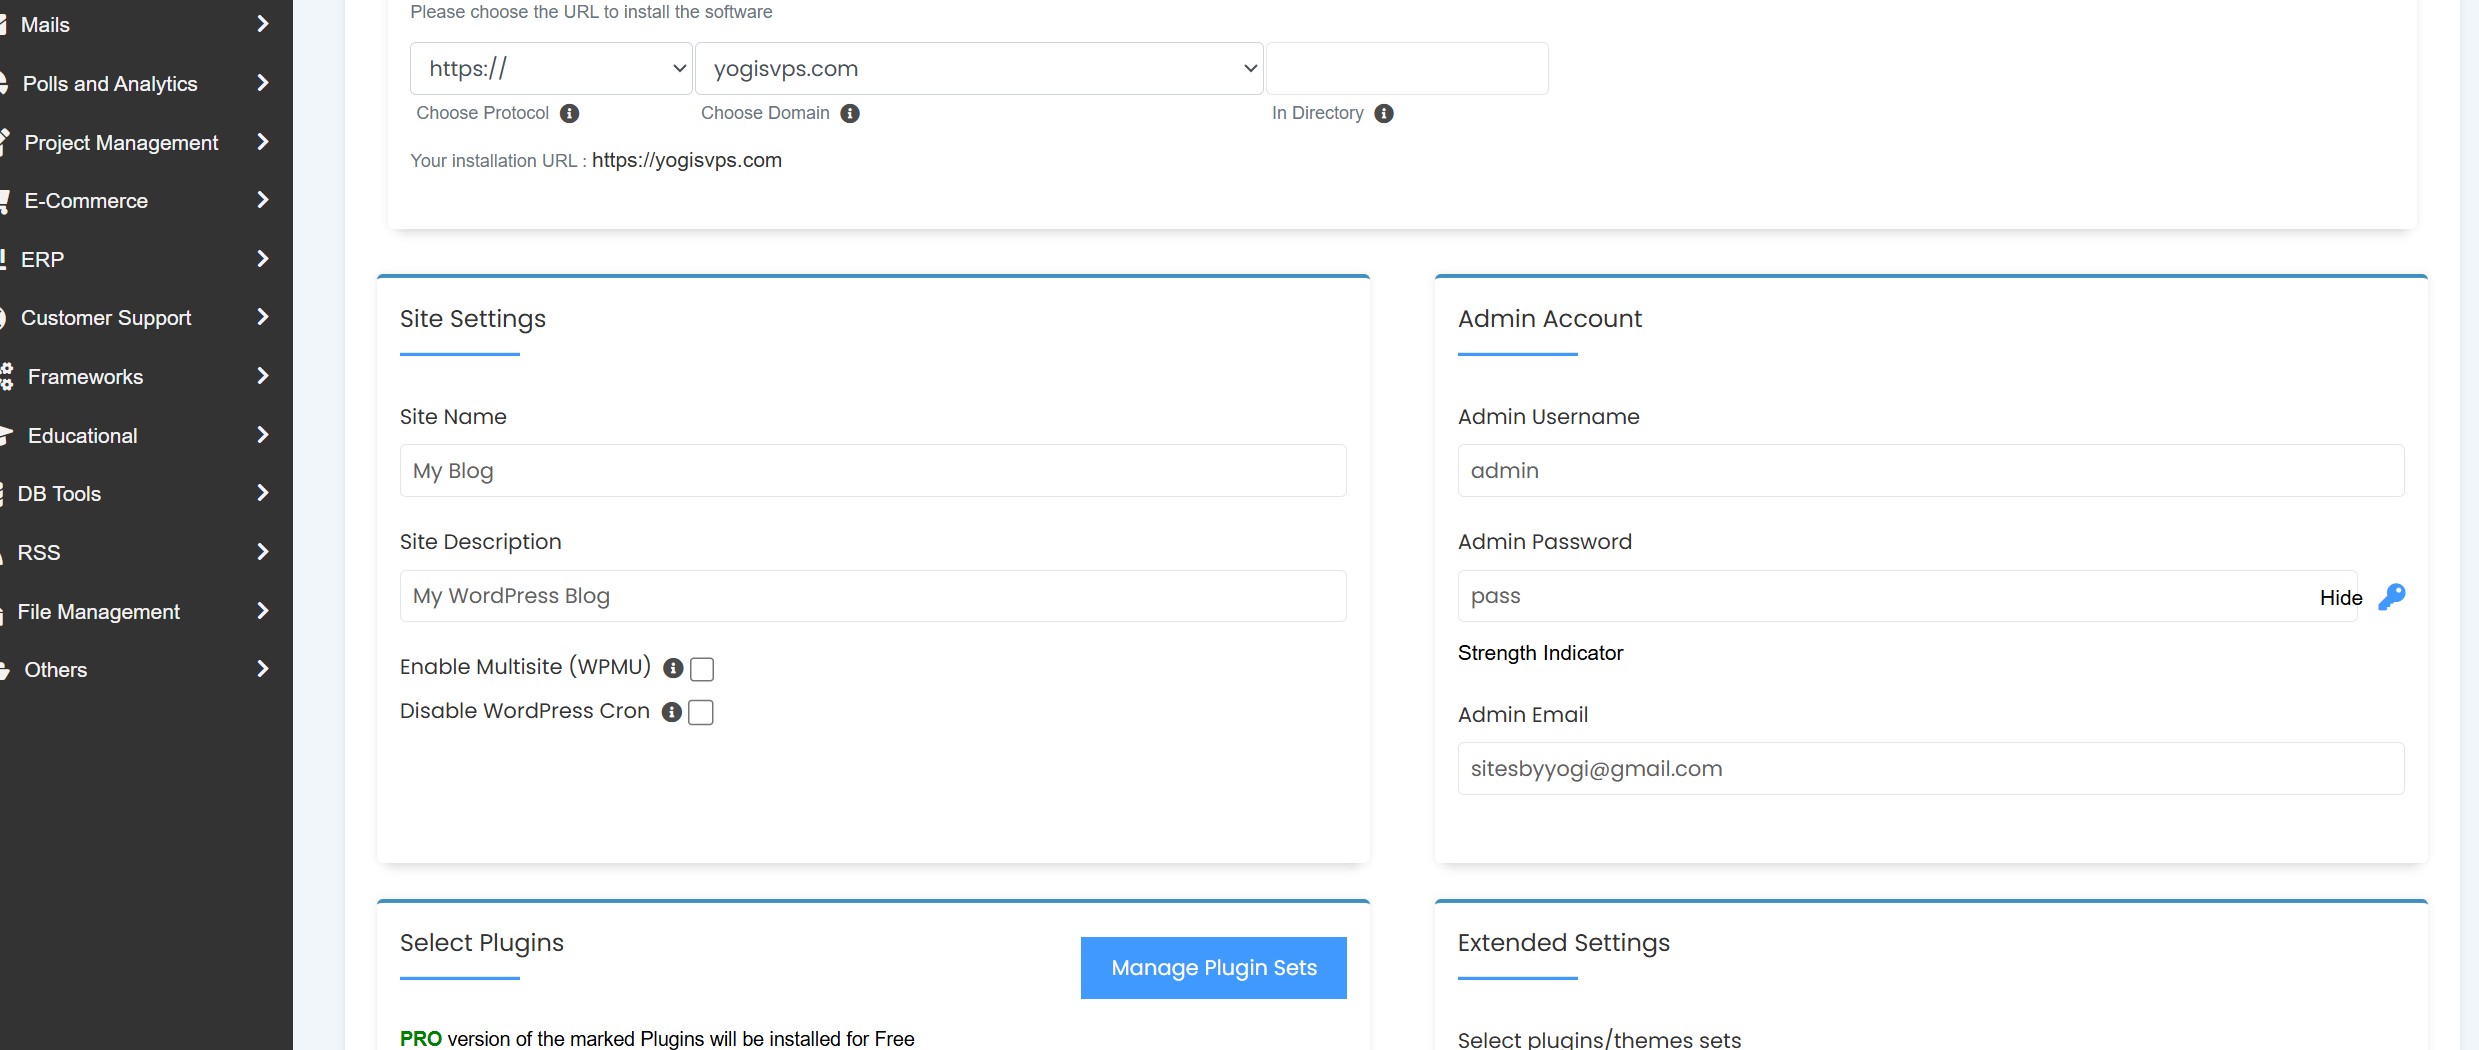
Step 3: Install WordPress
- Open your control panel
- Select Install WordPress
- Choose your domain
- Create admin credentials
- Install
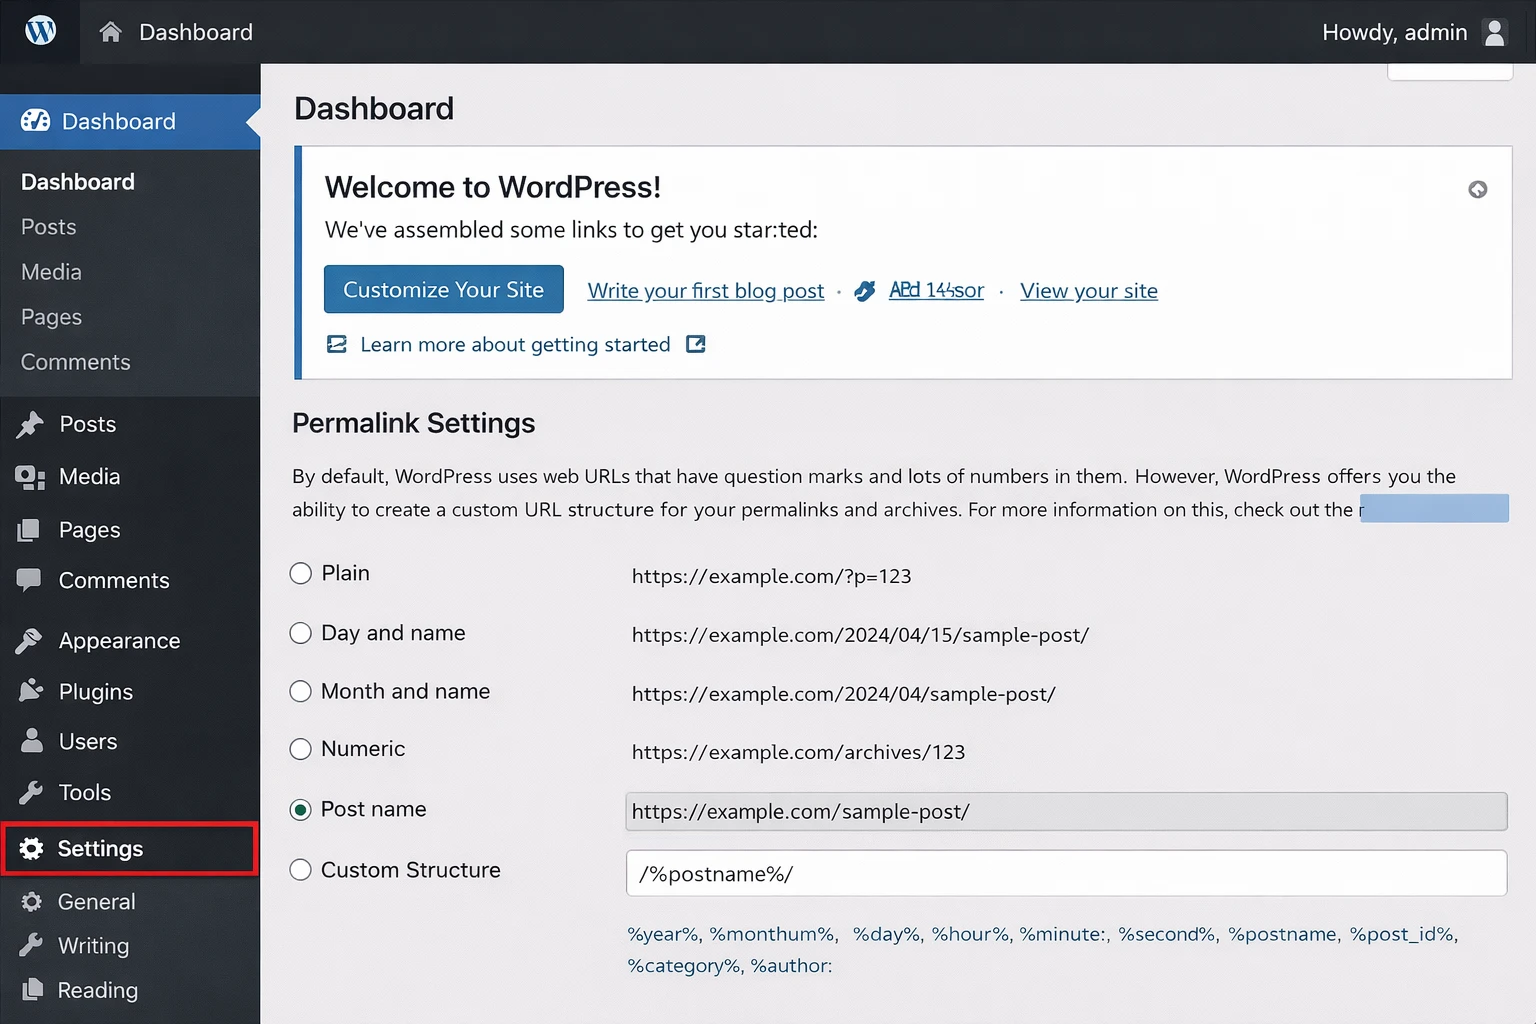
Step 4: Configure basic settings
Core setup
- Set site title
- Set timezone
- Update permalinks to "Post name"
- Delete demo content
Security basics
- Use strong passwords
- Remove unused themes/plugins
- Enable HTTPS
You can also follow our guide on hardening your WordPress login for better protection.
Step 5: Choose your theme and builder
- Astra
- GeneratePress
- Blocksy
- Kadence
Keep things lightweight. This helps performance and avoids issues later.
Many slow sites start here, which is why we cover this in cheap hosting and performance issues.
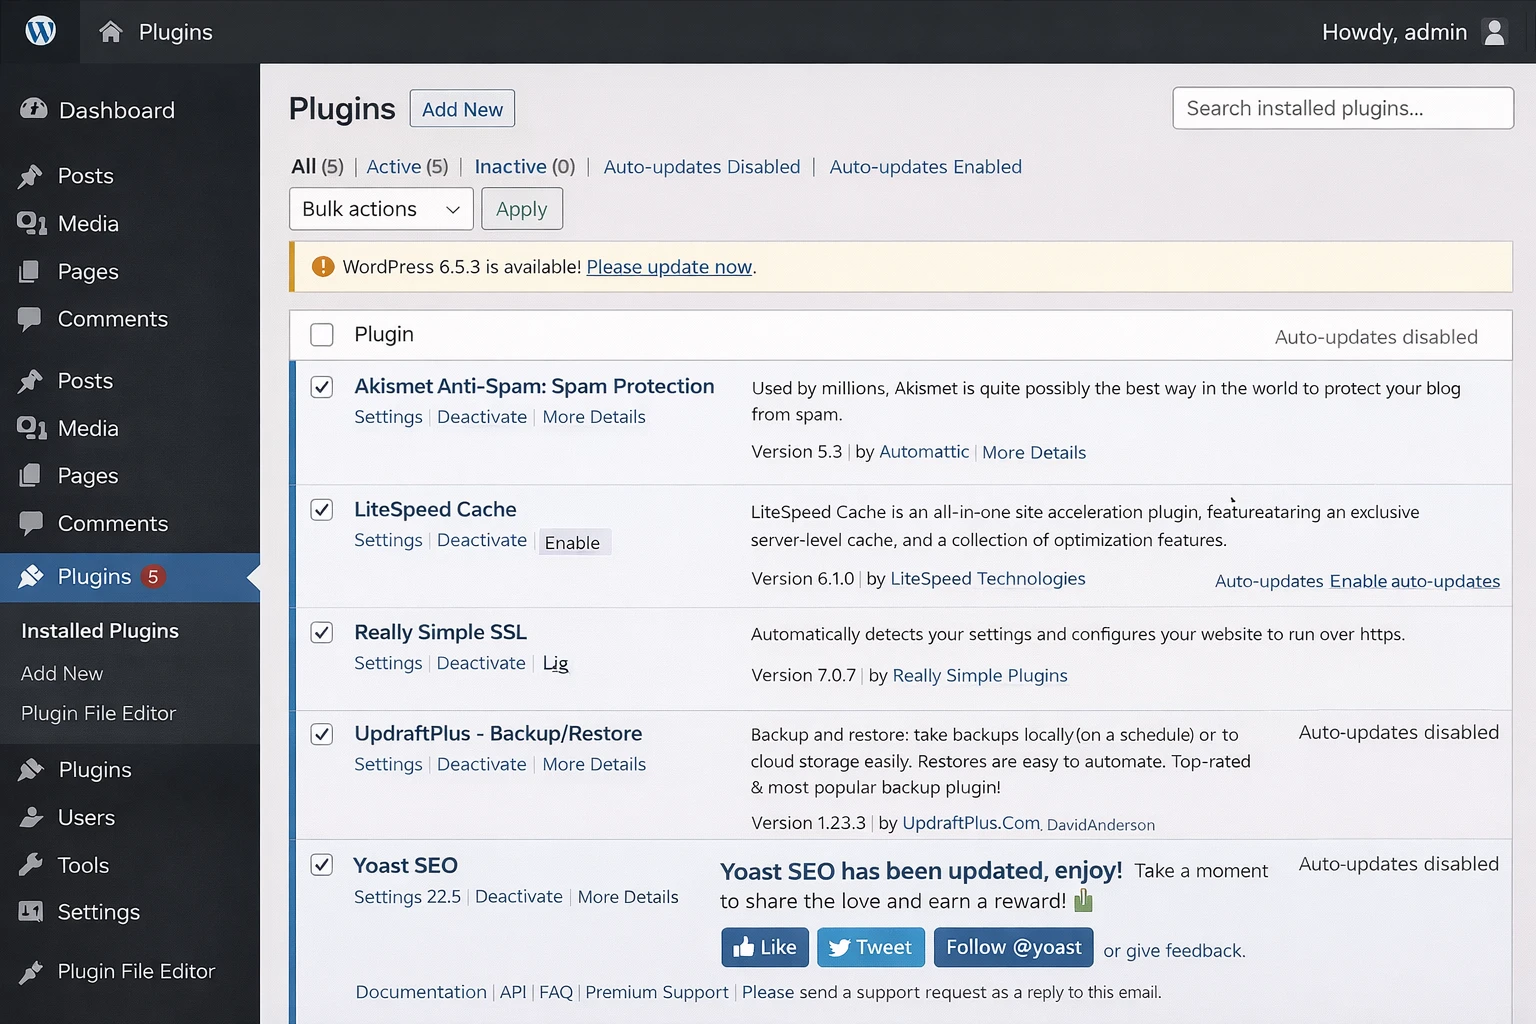
Step 6: Install essential plugins
- SEO plugin
- Performance plugin
- Forms plugin
- Image optimization plugin
See our recommended plugins and tools for a clean starting stack.
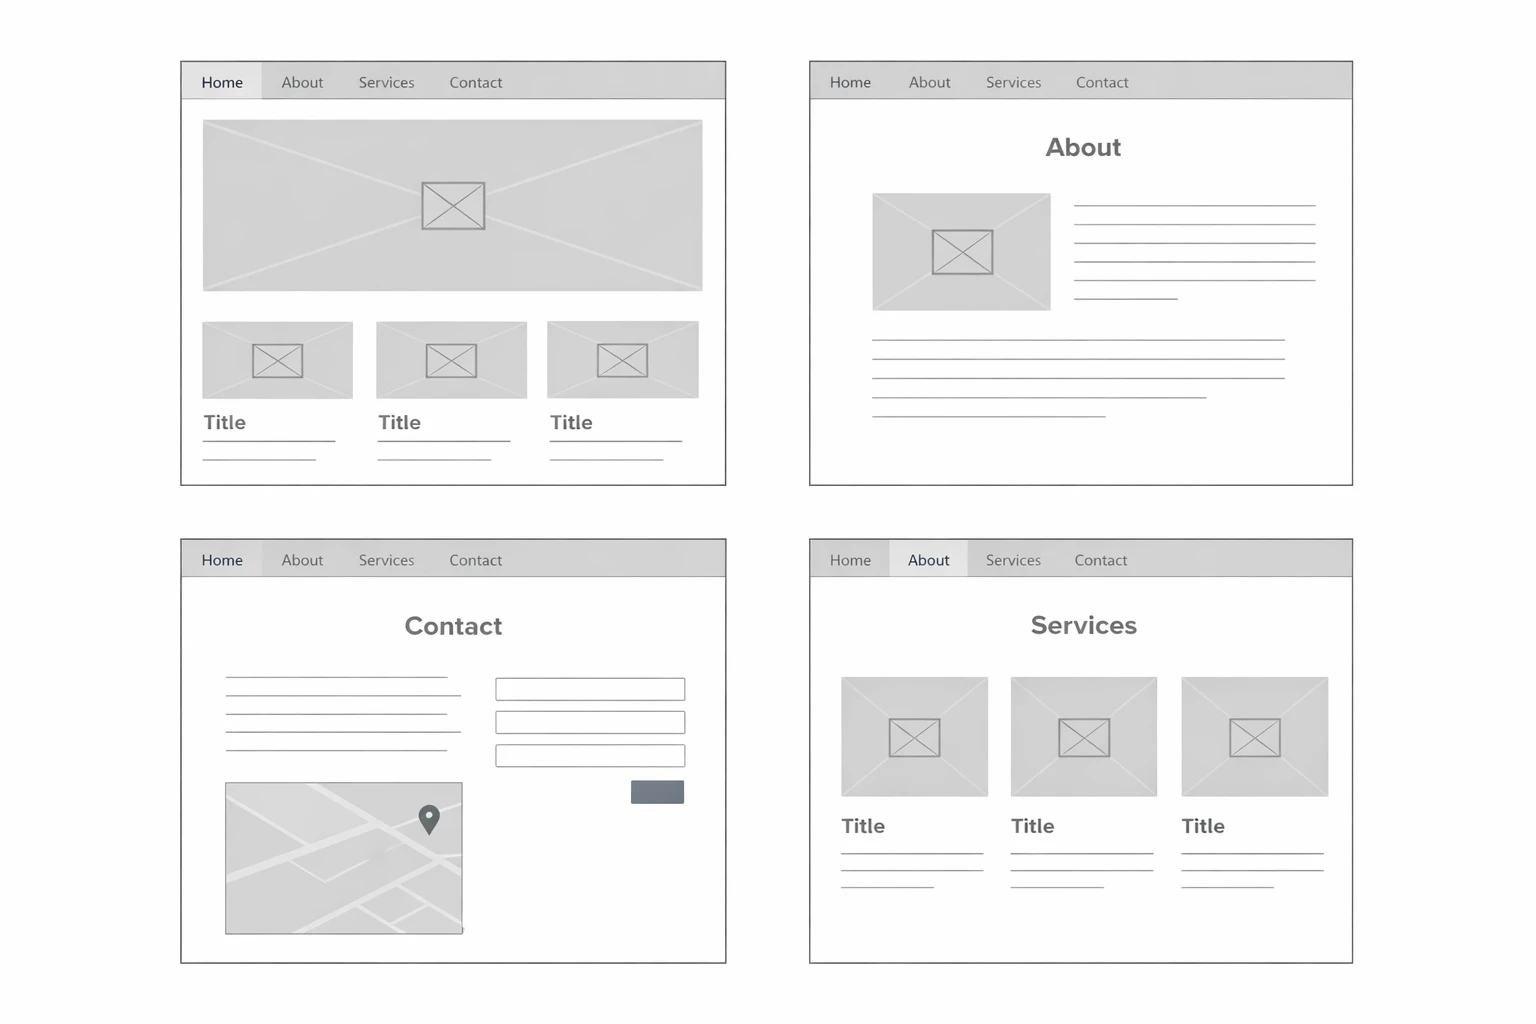
Step 7: Build your core pages
- Home page
- About page
- Contact page
- Services or products
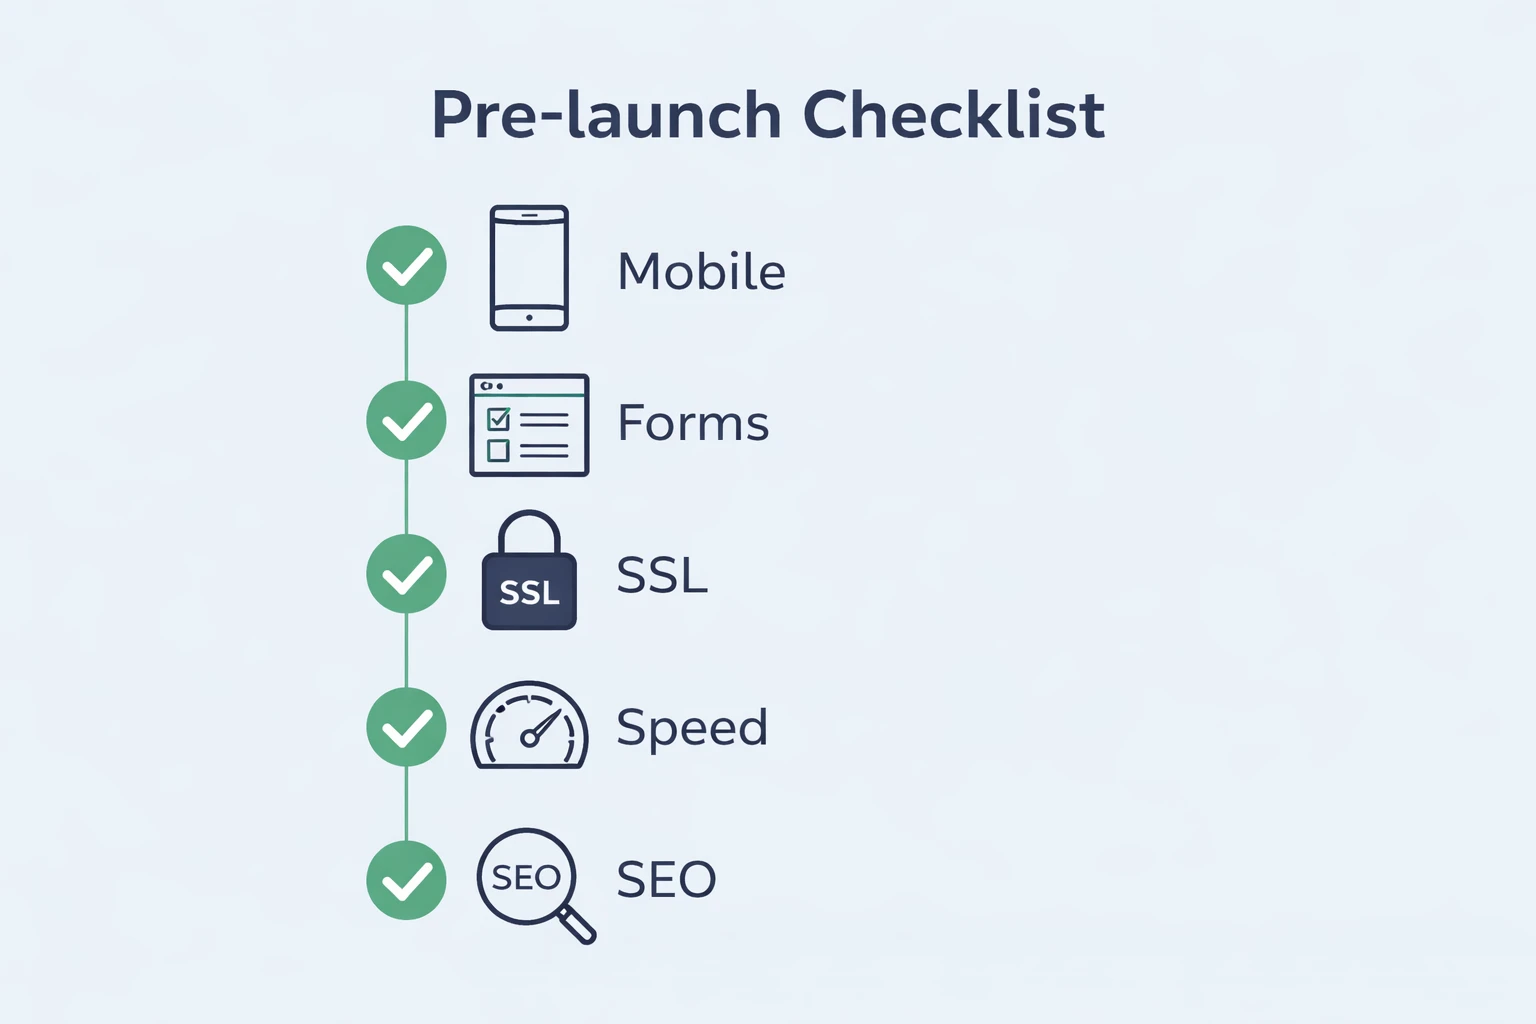
Step 8: Pre-launch checklist
- Test forms
- Check mobile layout
- Verify links
- Confirm SSL
- Enable indexing
- Install analytics
- Connect Search Console
Step 10: After launch
- Keep everything updated
- Monitor speed
- Back up regularly
- Improve content over time
If performance becomes an issue, review how to improve Core Web Vitals or run a WordPress performance audit.