Domain Setup · Yogi's VPS
Pointing your domain to Yogi's VPS
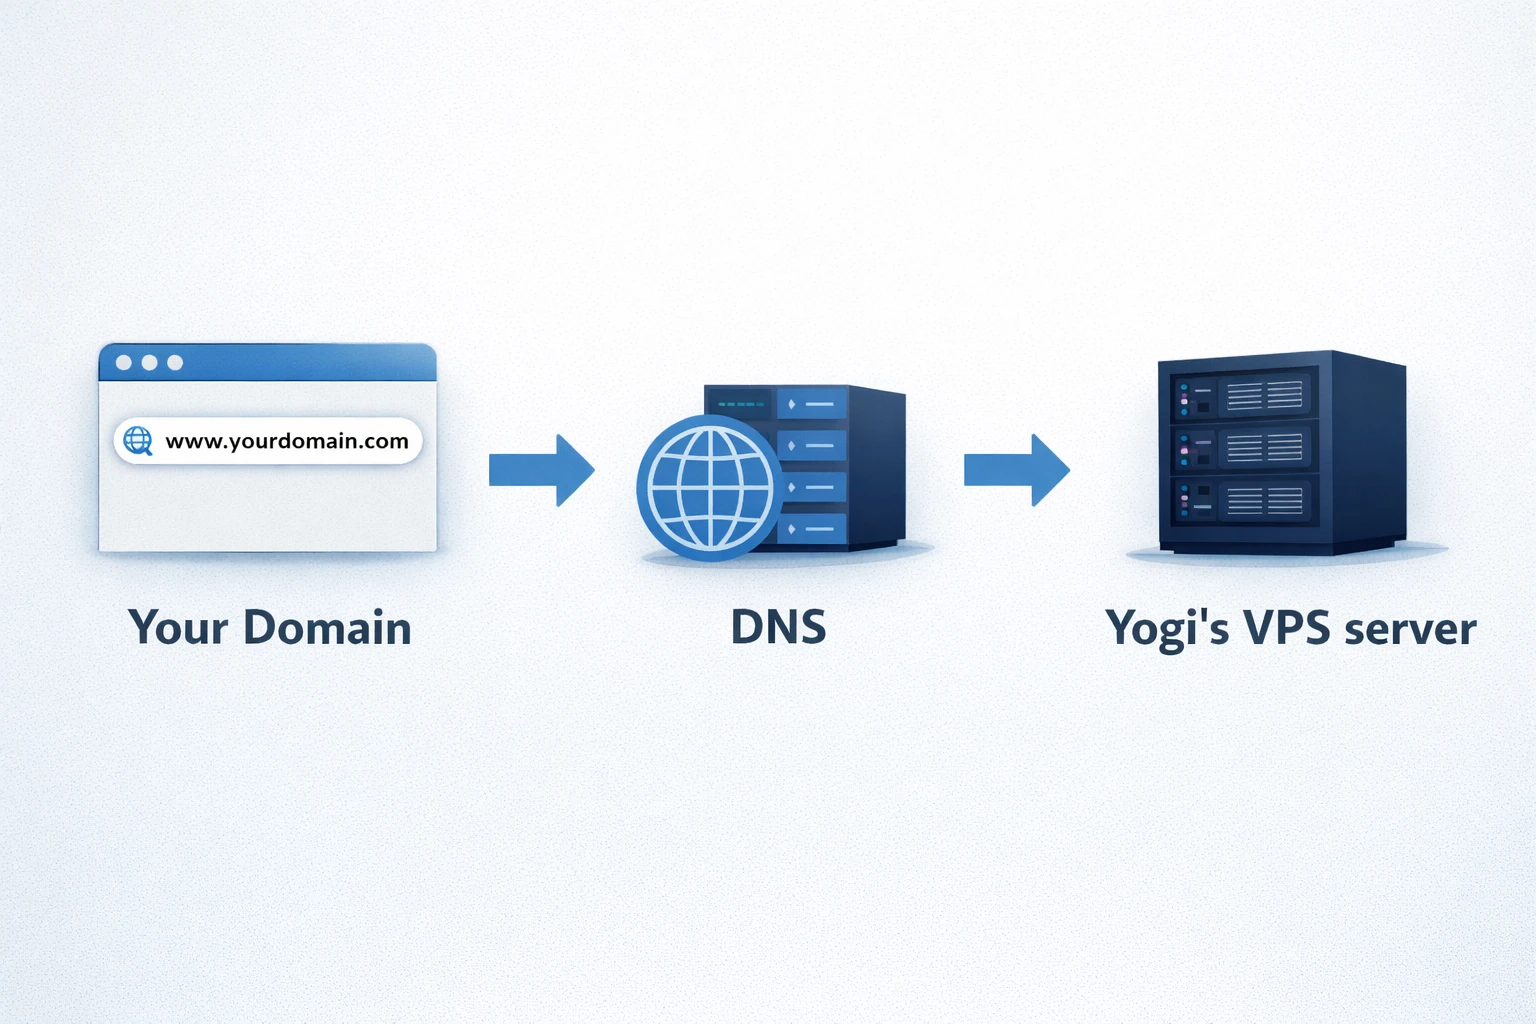
Pointing your domain is the final step that makes your site live on Yogi's VPS. You keep owning your domain at your registrar, but DNS tells browsers to load your site from our server.
There are two main ways to do this. You can either point nameservers to Yogi's VPS or keep DNS where it is and only update A and CNAME records.
This step is typically done after migration or site setup. If you have not moved your site yet, review migrating from another host or launching your first WordPress site.
Before you start: what you need ready
You can usually connect your domain in one short session if you gather a few details first.
Access you need
- Login to your domain registrar
- Access to your DNS provider if separate
- Email provider settings if using custom email
Details from Yogi's VPS
- Your server IP address
- Nameserver values
- Primary domain preference (www or non-www)
If your setup includes email, make sure you understand your email configuration first. See creating and managing email accounts.
Step 1: Choose how you want to point your domain
Both methods work. The choice depends on who manages DNS long term and whether you already use services like Cloudflare.
Option 1 - Point nameservers
- Simple long-term management
- We handle DNS changes for you
- Best for most users
Option 2 - Update A and CNAME records
- Keep DNS with current provider
- Best for Cloudflare or IT-managed setups
- More manual control
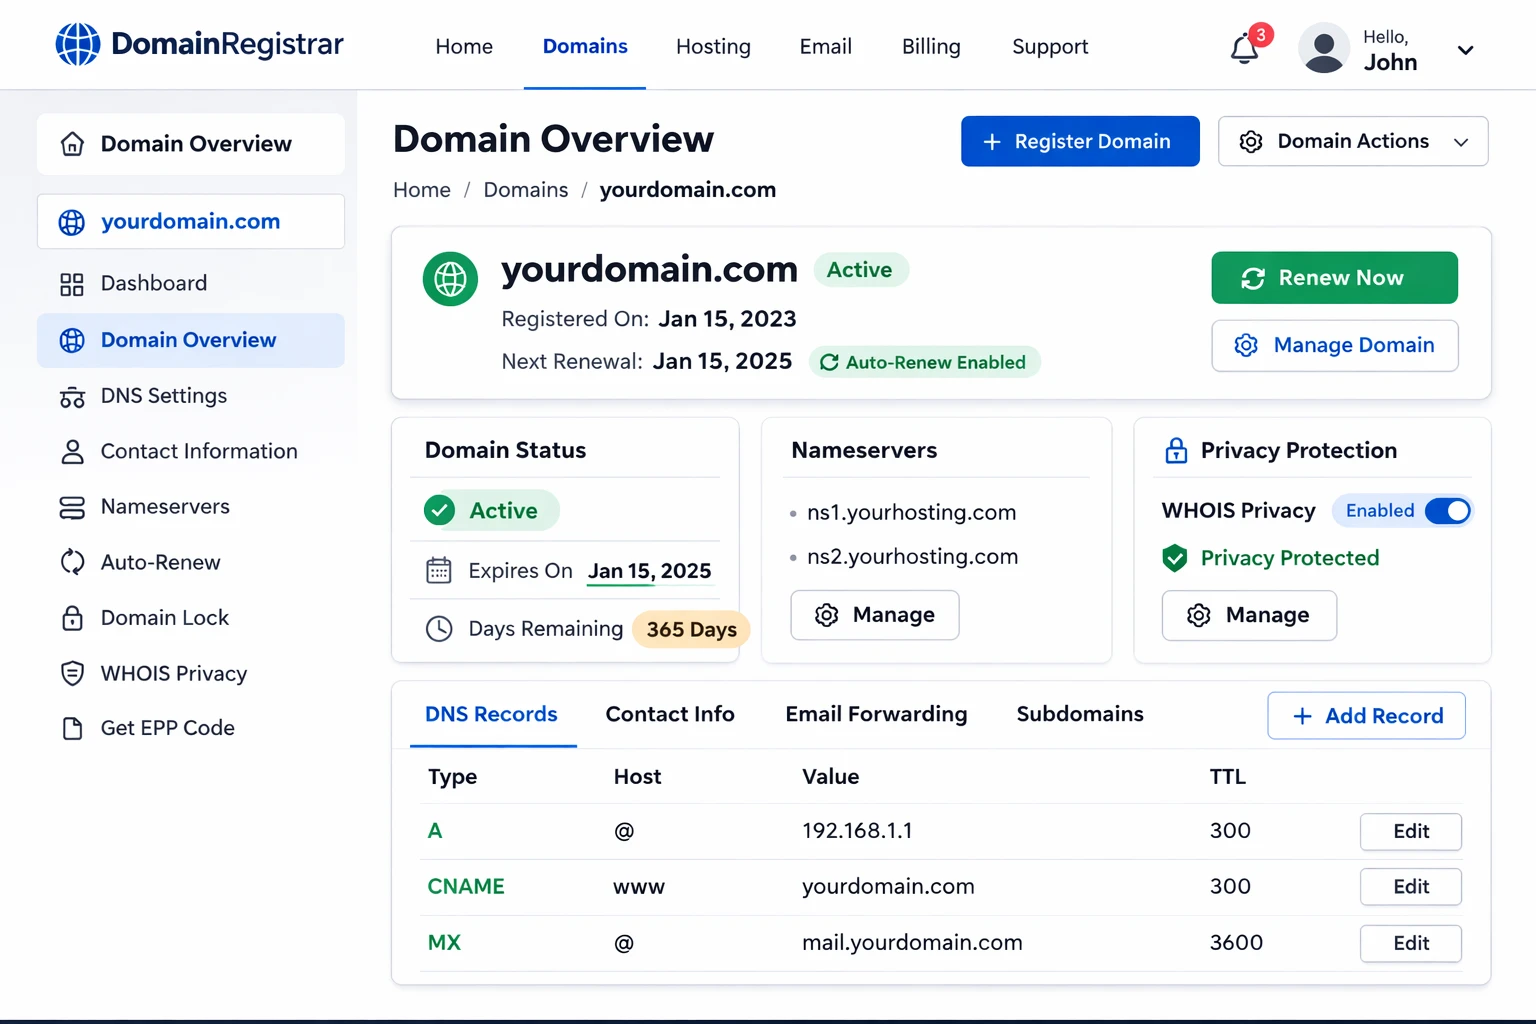
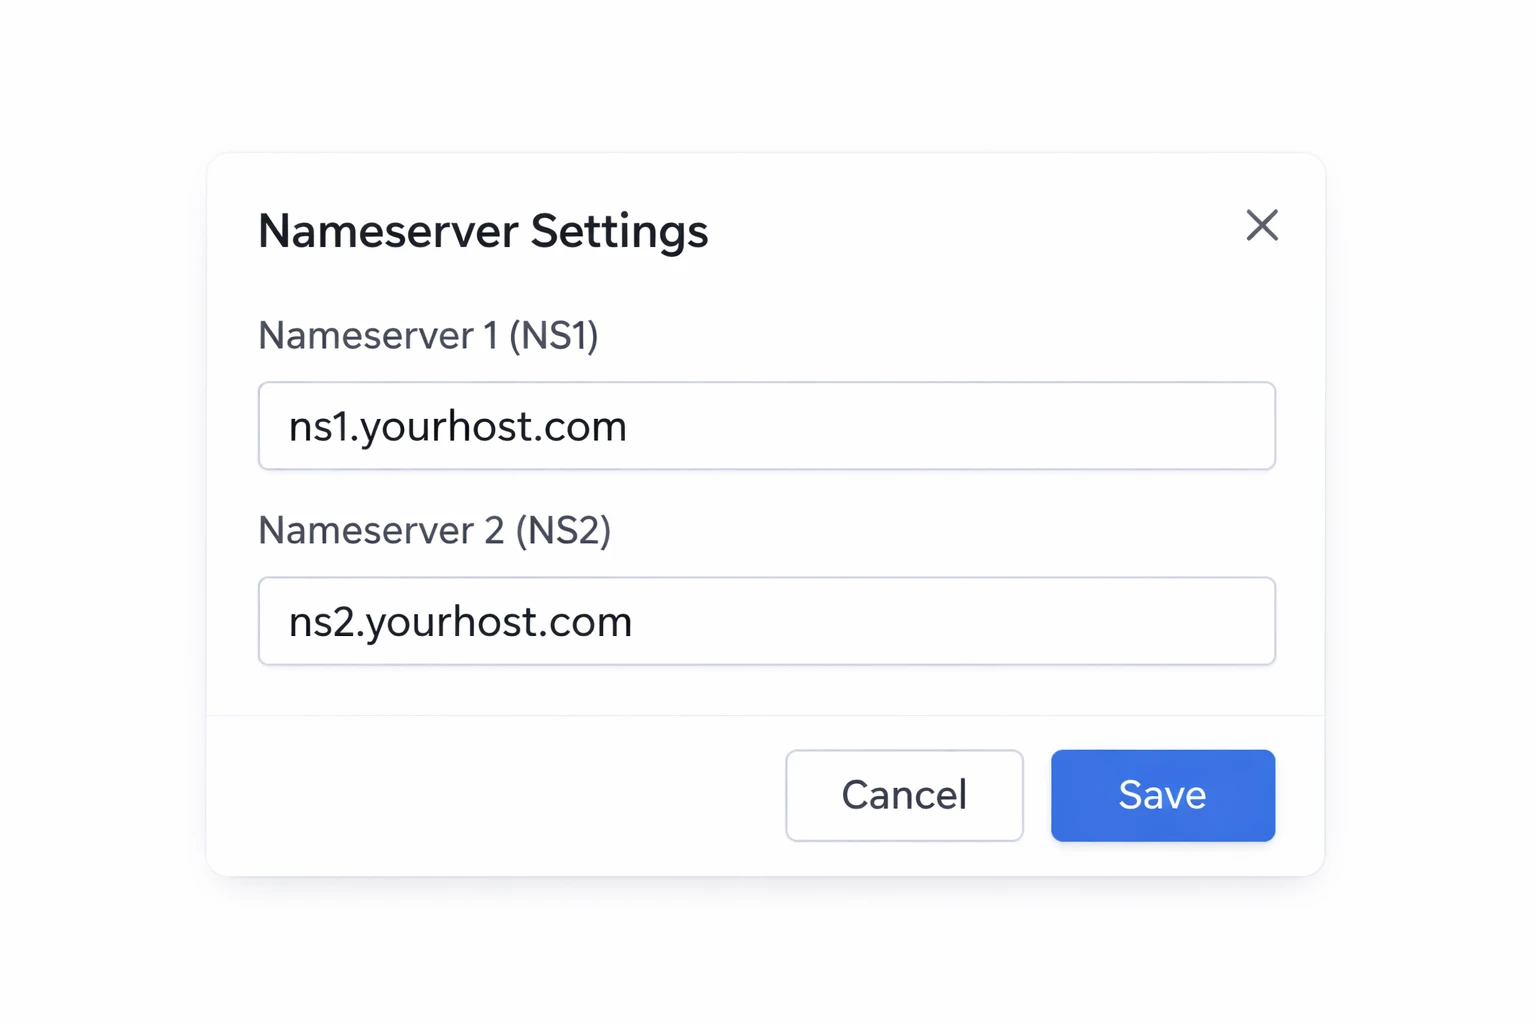
Step 2a: Point nameservers (Option 1)
- Log in to your registrar
- Find nameserver settings
- Switch to custom nameservers
- Enter Yogi's VPS values
- Save changes
Step 2b: Update A and CNAME records (Option 2)
- Log in to DNS provider
- Update A record to VPS IP
- Confirm www CNAME points correctly
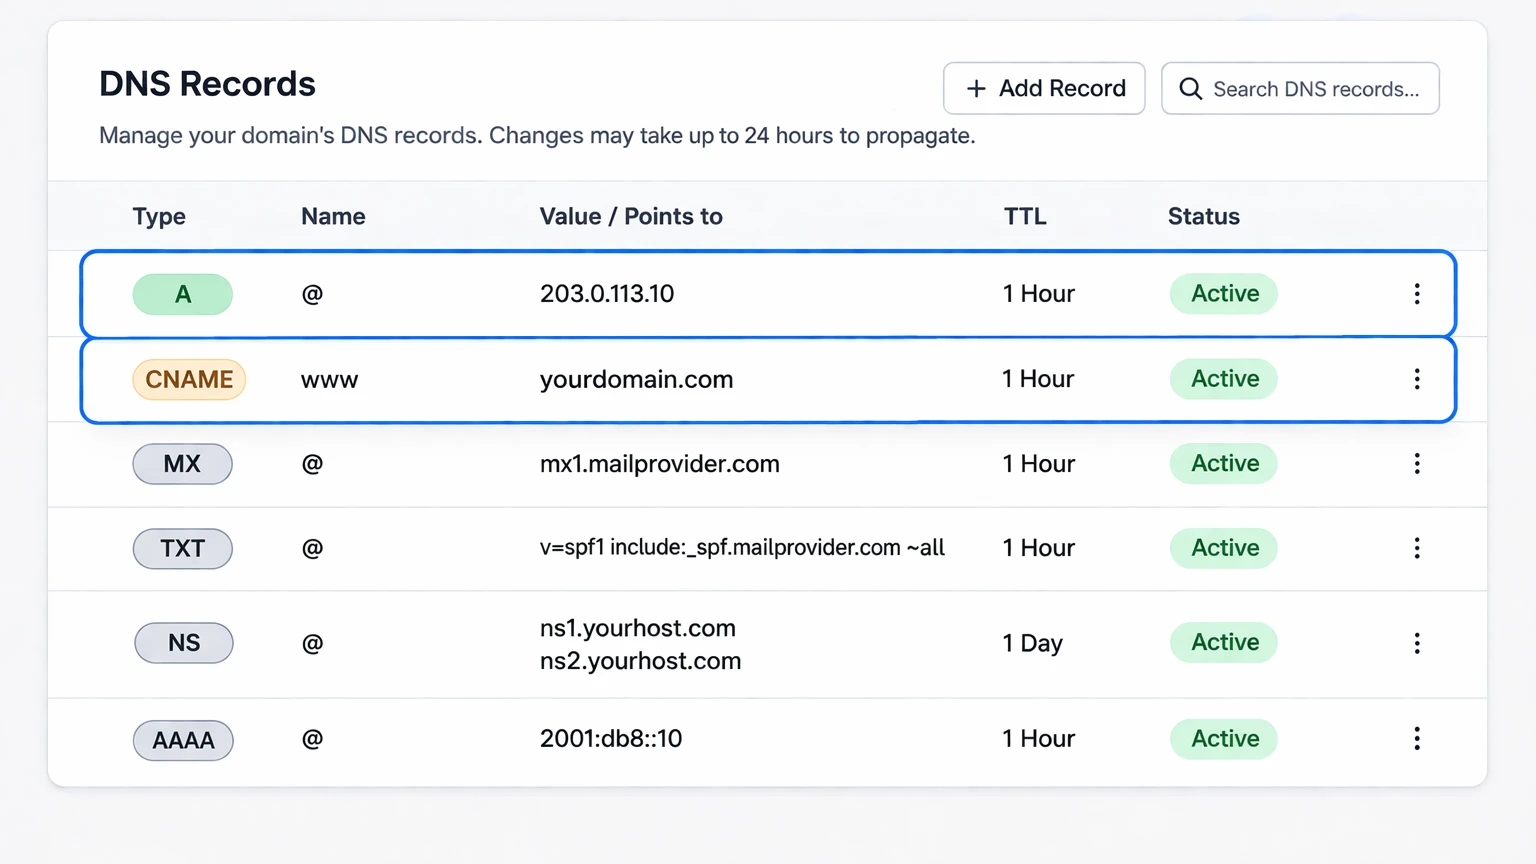
Do not modify MX, SPF, or DKIM records unless you are also moving email services.
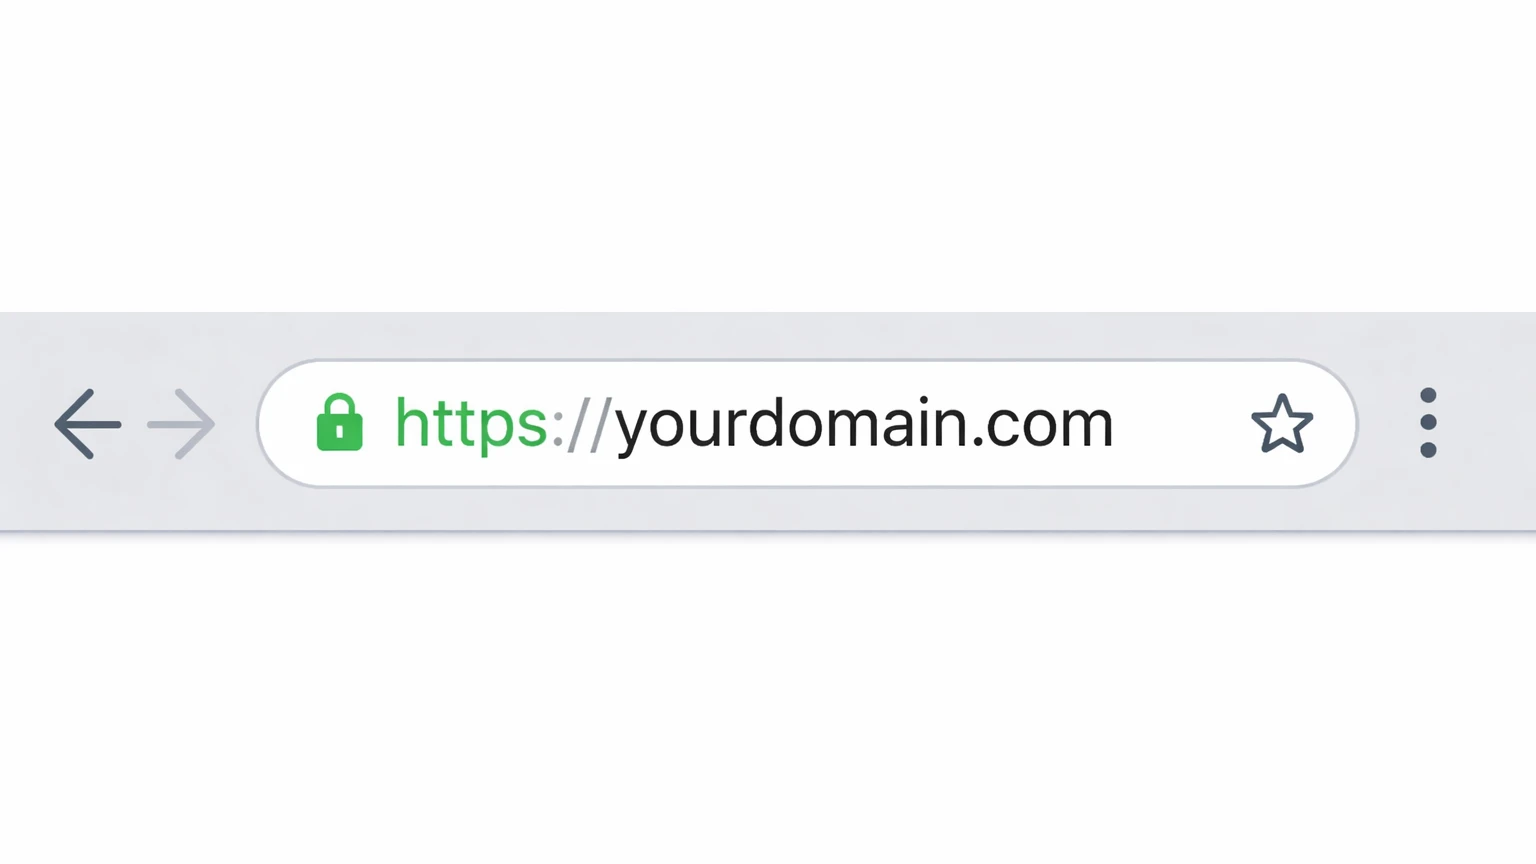
Step 3: Verify your domain is pointing correctly
- Open site in private browser
- Confirm correct site loads
- Check for HTTPS padlock
- Test www and non-www
If HTTPS is not active yet, review setting up SSL.
Common issues when pointing a domain
Still seeing old site
- DNS still propagating
- Old IP still cached
No HTTPS or warnings
- SSL not installed yet
- Mixed content issues
If your site is loading slowly or inconsistently after DNS changes, see troubleshooting a slow WordPress dashboard or improving Core Web Vitals.
After your domain is connected
Once DNS is stable, your site is officially live on Yogi's VPS.
- Confirm SSL is active
- Test forms and functionality
- Check performance
- Monitor traffic and uptime
If this is your first site, continue with welcome to Yogi’s VPS or launching your first WordPress site.