Security & Encryption · Yogi's VPS
Setting up free SSL for your site
Every site hosted on Yogi’s VPS comes with a free SSL certificate so visitors can access your site securely over HTTPS.
This protects user data, improves trust, and prevents browser warnings that can hurt conversions and SEO.
HTTPS is also a ranking factor. If your site is not secure, it can negatively impact the same performance and trust signals discussed in why fast websites drive SEO growth.
How SSL works on Yogi’s VPS
SSL certificates are installed automatically as soon as your domain is pointed to our server and resolves correctly.
- Your domain must point to Yogi’s VPS.
- We detect your domain and install an SSL certificate automatically.
- All certificates renew automatically with no action required.
- HTTPS redirects ensure users always reach the secure version.
This automated setup is part of your full hosting environment, alongside performance tuning and security features covered in welcome to Yogi’s VPS.
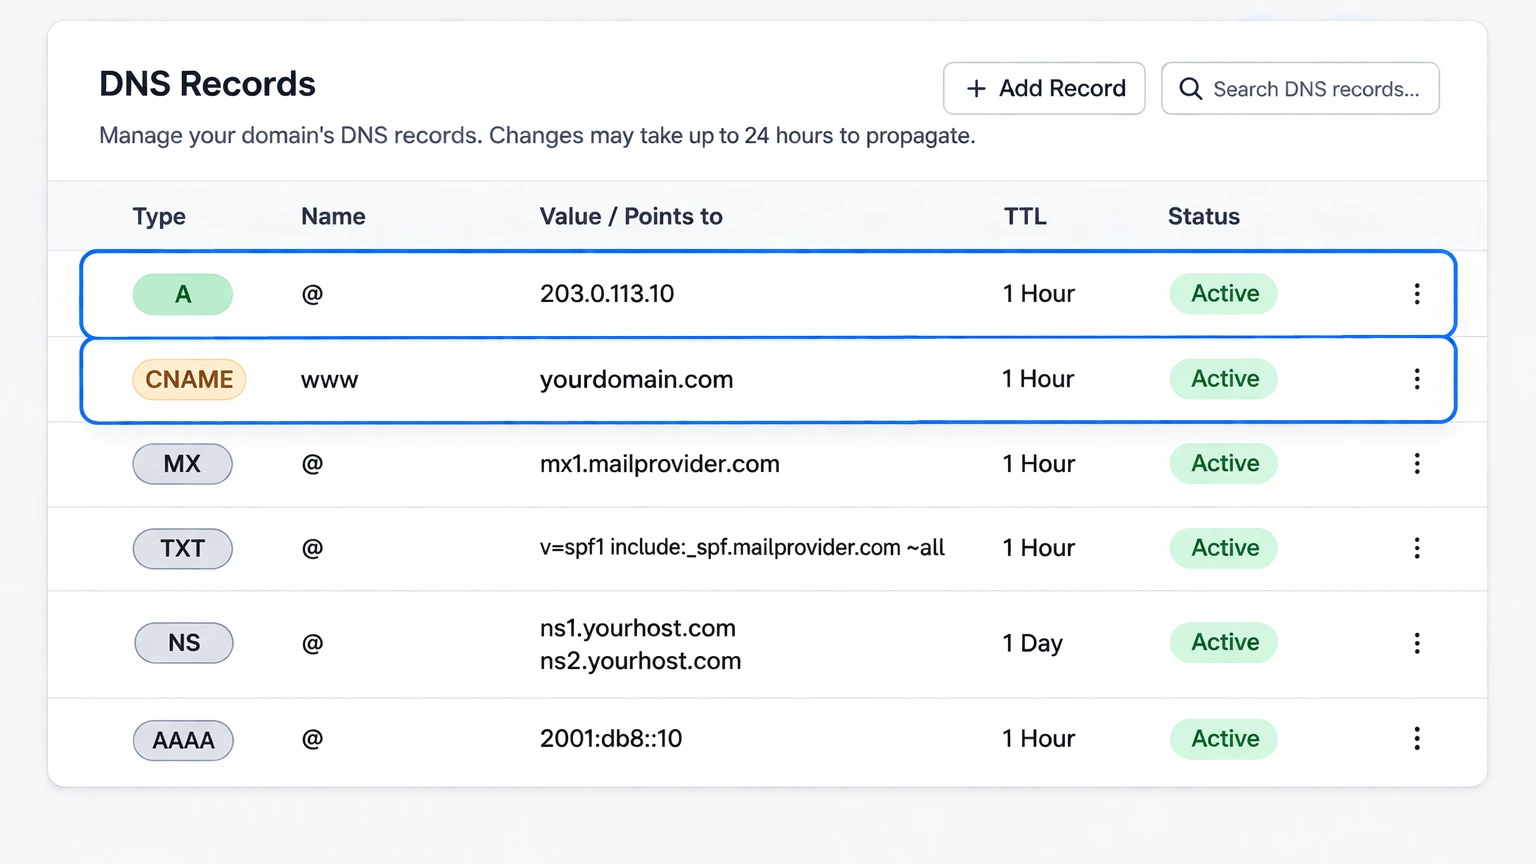
Step 1: Make sure your domain is pointed correctly
SSL will only install if your domain is fully connected to your hosting account.
- A record or nameservers must point to your Yogi’s VPS server.
- Your site must resolve to the new server.
- Both www and non-www versions should point correctly.
If you have not done this yet, follow: how to connect your domain and update DNS or point your domain to Yogi’s VPS.
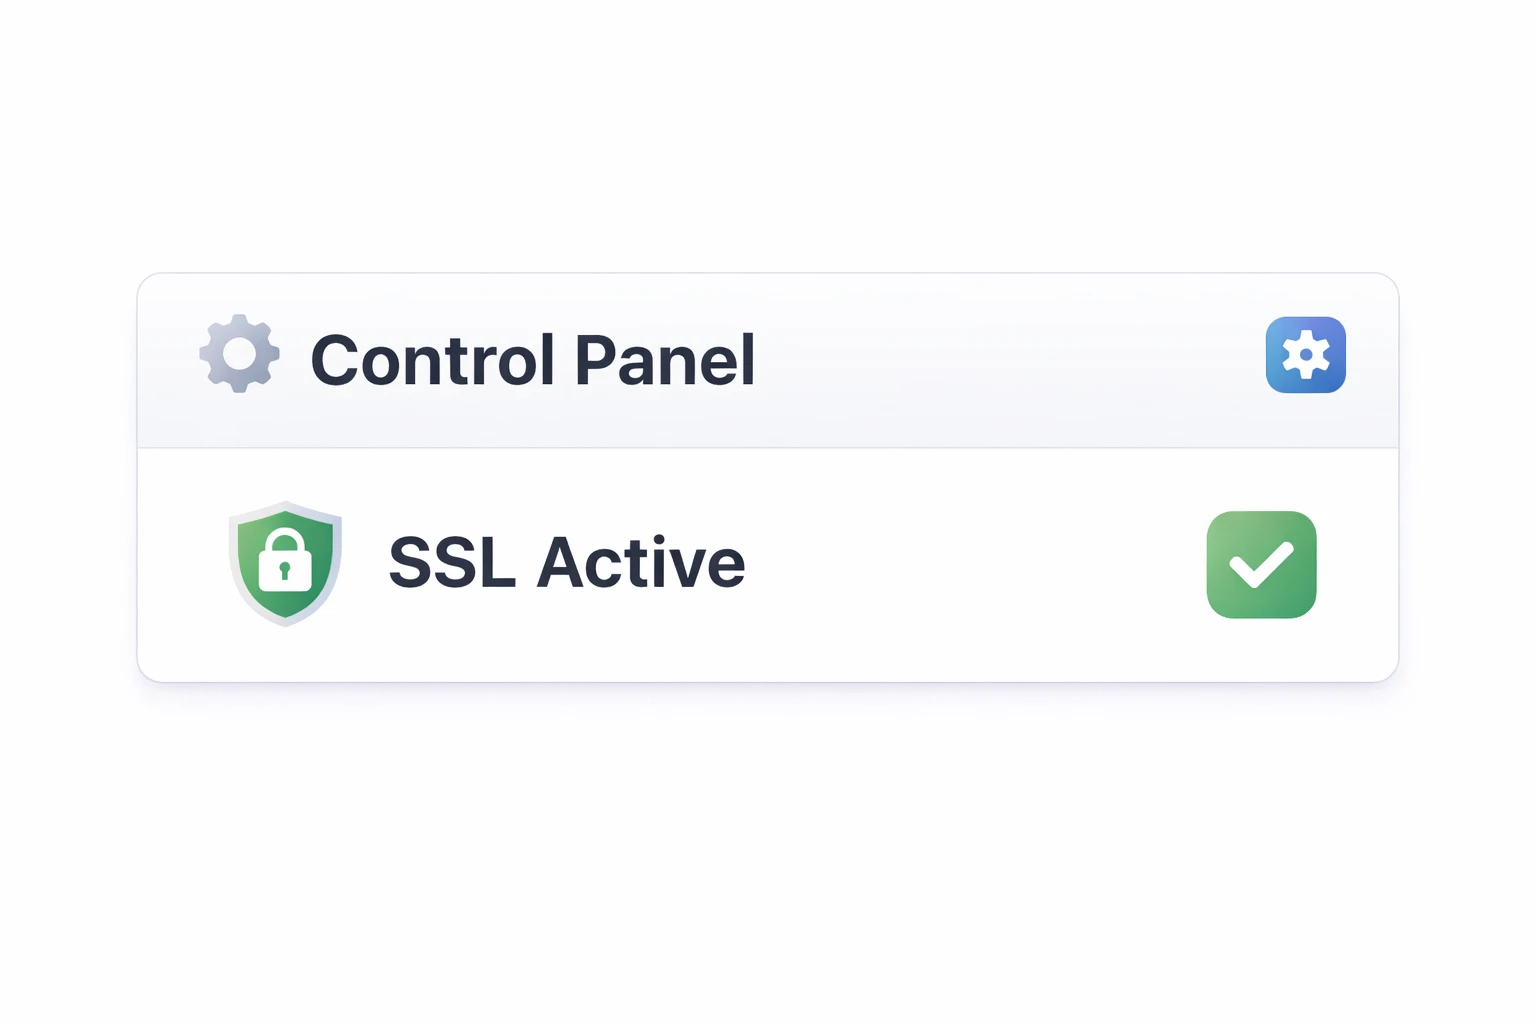
Step 2: SSL installs automatically
Once DNS is correct, your SSL certificate typically installs within minutes.
- System scans your domain automatically
- Certificate is issued
- HTTPS becomes active
- Auto-renewal is handled for you
If you recently moved hosting, you can also review migrating from another host to make sure everything is fully connected.
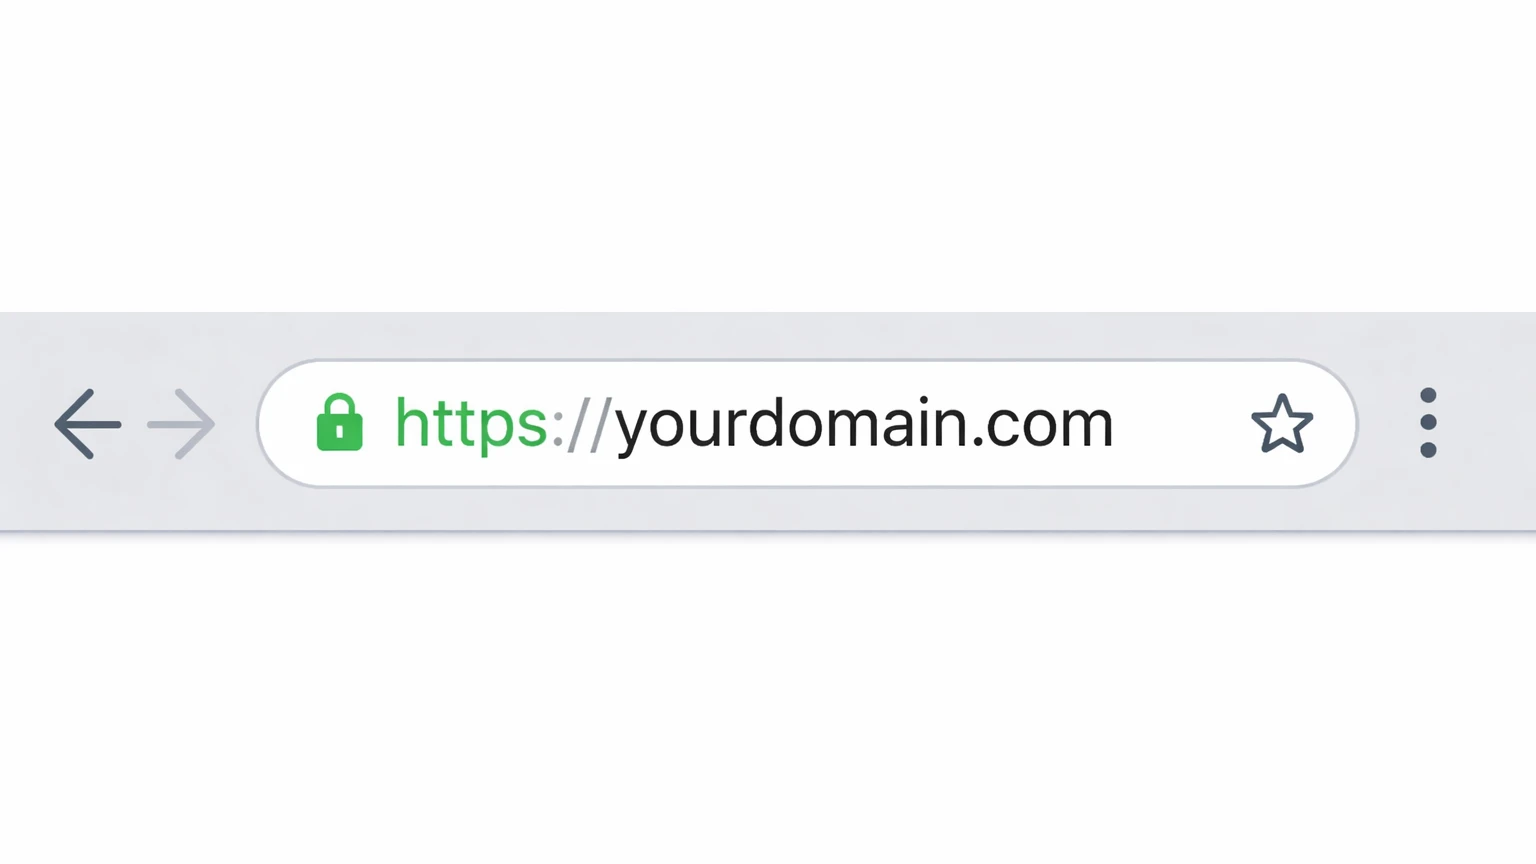
Step 3: Verify SSL is active
You can confirm SSL is working by checking your site in a private browser window.
- Look for the padlock icon
- Confirm URL starts with https://
- Test both www and non-www versions
Common SSL issues and how to fix them
Most SSL issues are caused by DNS problems or mixed content.
SSL not installing
- Domain not pointing correctly
- DNS still propagating
- Cached old version of site
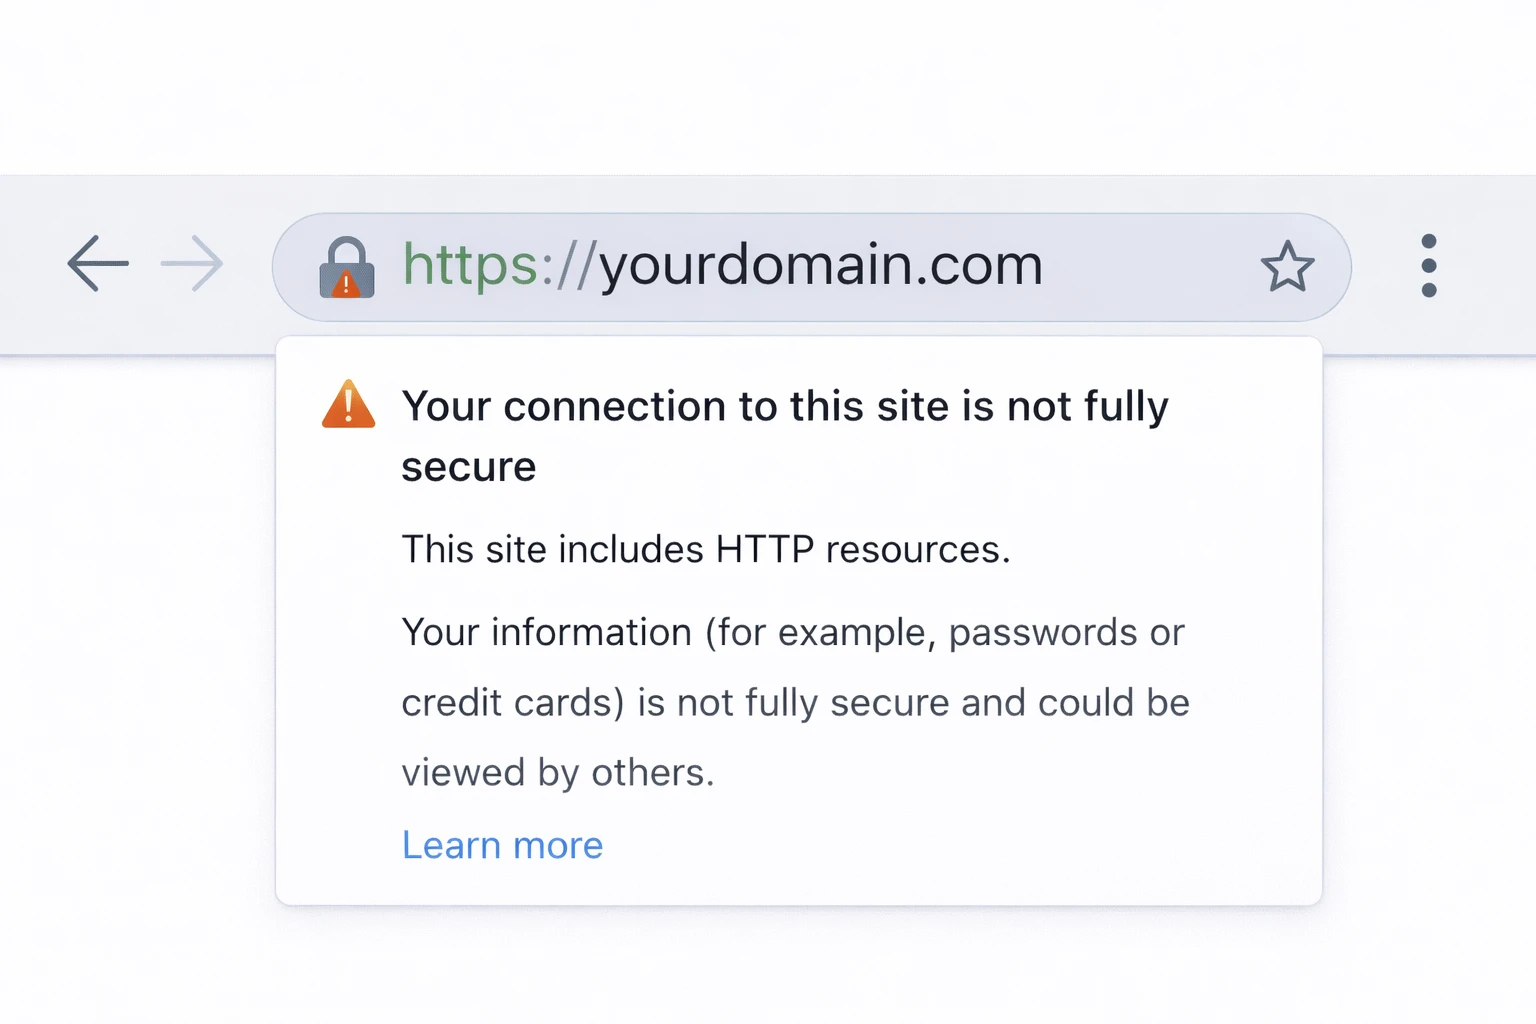
Padlock missing
- Mixed content (http images or scripts)
- Old URLs inside your site
Mixed content can also impact performance and user trust. This is similar to issues covered in slow WordPress troubleshooting and Core Web Vitals optimization.
Why SSL matters for your site
SSL is not just about security. It affects trust, SEO, and performance.
- Prevents browser "Not Secure" warnings
- Protects user data
- Improves SEO trust signals
- Required for modern web features